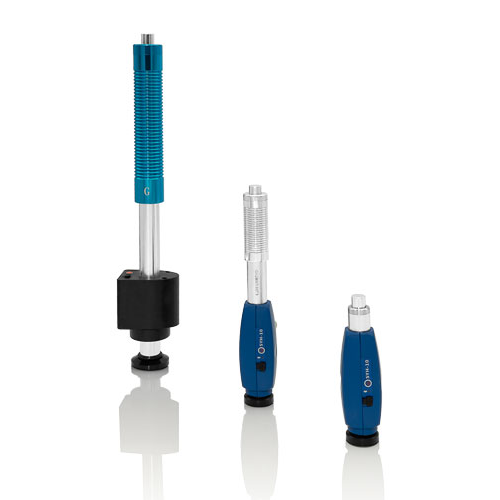
Leeb rebound sensors – Repeatable precision and flexibility
Latest sensor technology for optimal measurement results
Due to the stable design, our Leeb rebound sensors are ideally suited for everyday use on massive components in the industrial work environments. The “2-in-1 concept” enables the parallel use of Leeb rebound sensors and UCI (Ultrasonic Contact Impedance) measuring probes with the SONODUR 3 device.
The measured values are evaluated via an app based on the future-proof Android software platform. All information is visible at a glance. The measured values are statistically summarized and individually displayed in result lists as well as by means of graphical representation and tolerance thresholds in a user-friendly manner. The measured values can be exported for further data processing.
The operating principle of the Leeb rebound method consists of accelerating an impact body, at the front end of which is a hard metal ball, with a defined energy against the surface of the material to be measured. The impact of the hard metal ball causes a deformation of the surface, which leads to a loss of acceleration energy. This energy loss is determined by measuring the velocity and from this a hardness value is calculated in Leeb.
Areas of application are large, solid test parts with a minimum component weight requirement of 5 kg and a minimum thickness greater than 25 mm (SONO HLD).
Advantages:
- 2-in-1 concept: Rebound hardness measurement and UCI
(Ultrasonic Contact Impedance)
– Each SONODUR 3 can be easily retrofitted (SONODUR L App) - Calibration almost identical to UCI:
– Calculation of the Vickers hardness HV from the L-value
(LD and LG acc. to ISO 16859)
– Conversion to other hardness scales or tensile strength acc. to EN ISO 18265-2019,ASTM-E 140-2019, EPRI correlation-P91-2020 (HV5/HV10 with HB) and others - Easy Handling: Immediate readiness for measurement, wireless transmission of measured values via Bluetooth connection to SONODUR 3 – allows maximum flexibility and freedom in positioning the sensor on the component
- Simple measured value adjustment possible through comparative measurement on alloys with different E-modulus analogous to UCI testing: adaptation of the Leeb number (HL) for complex systems such as cast iron (E-modulus 80 – 180 GPa), aluminium alloys with high silicon content (65 – 105 GPa), various non-ferrous metal alloys, etc.


